Connecting to Make
Our API is designed to work seamlessly with Make. By using the HTTP > Make a request module, you can connect Precept to thousands of other applications and build powerful, automated workflows.Step 1: Get Your API Key
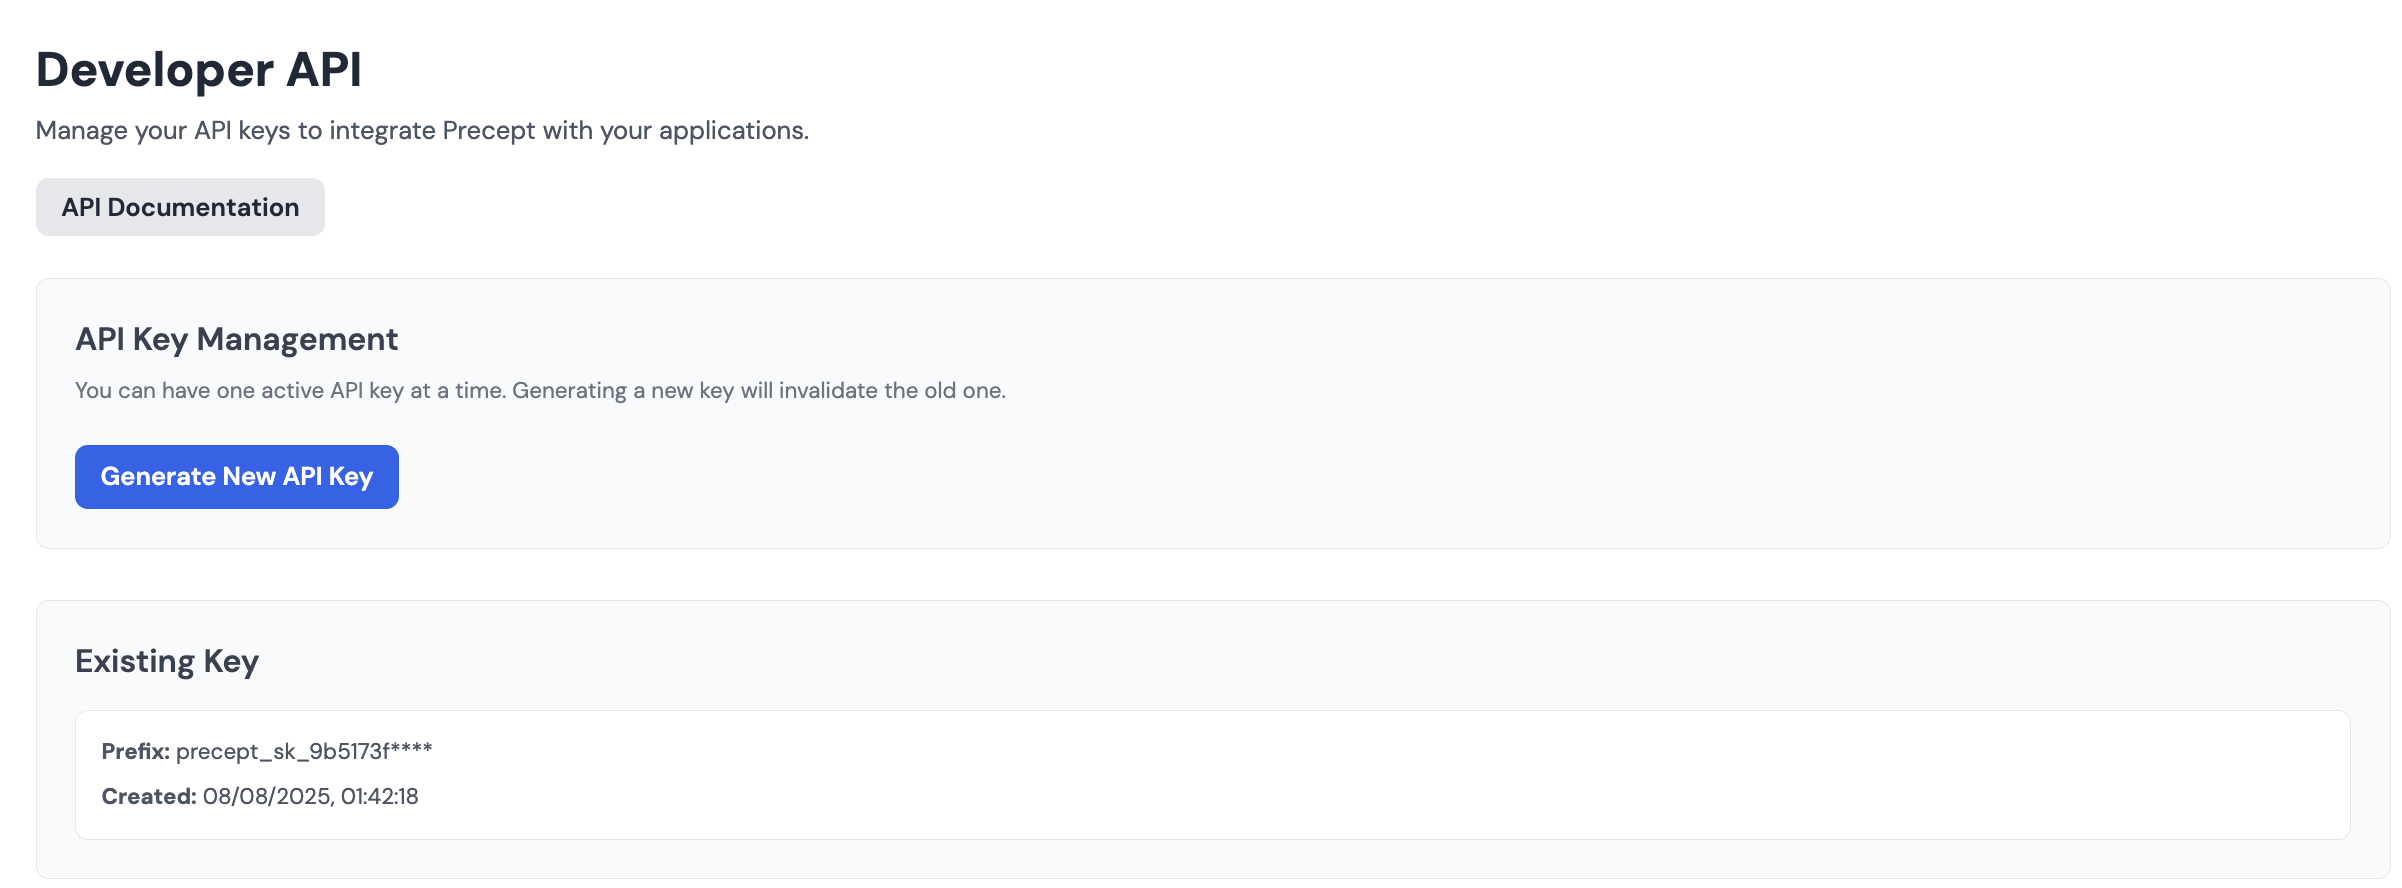
Before you can connect to Precept, you need your unique API key.- Navigate to the Developer Dashboard in your Precept account.
- If you haven’t already, generate a new API key.
- Copy the key to your clipboard. Treat this key like a password and keep it secure.
Need a Precept account?
Sign up for a free trial to get your API key and developer credits.
Step 2: Create a Webhook Scenario to Receive Results
Since enrichment jobs are asynchronous, you must first set up a dedicated scenario to receive the results. This scenario will have a Webhook trigger that provides a unique URL.- Create a New Scenario: In Make, create a new, separate scenario that will act as your webhook listener.
- Add a Webhook Trigger: For the first module, search for and select Webhooks > Custom webhook.
- Generate a URL: Click Add to create a new webhook, give it a name (e.g., “Precept Results”), and save. Make will generate a unique URL. Copy this URL to your clipboard, as you will need it in the next step.
- Listen for Data: Run this new scenario once so it is ready to receive data from Precept.
Step 3: Set Up the HTTP Request Scenario
Now, create a second scenario to send the enrichment request to Precept.- Add the HTTP Module: In a new scenario, add the HTTP > Make a request module.
-
Configure the Request:
- URL:
https://api.preceptai.co.uk/v1/companies/insights - Method:
POST - Headers: Add one header with the Name
Authorizationand ValueBearer YOUR_API_KEY. - Body type:
Raw - Content type:
JSON (application/json) - Request content: Enter the JSON payload, making sure to include the
webhookUrlyou copied in Step 2.
- URL:
-
Parse Response: Ensure the
Parse responseswitch is turned on.
Step 4: Run and Test
Run your HTTP request scenario. The API will return a202 Accepted response with an enrichment_id, confirming the job is queued. Shortly after, your webhook scenario will trigger and receive the enrichment results.