Connecting to n8n
Our API is designed to work seamlessly with n8n. By using the HTTP Request node, you can connect Precept to thousands of other applications and build powerful, automated workflows.Step 1: Get Your API Key
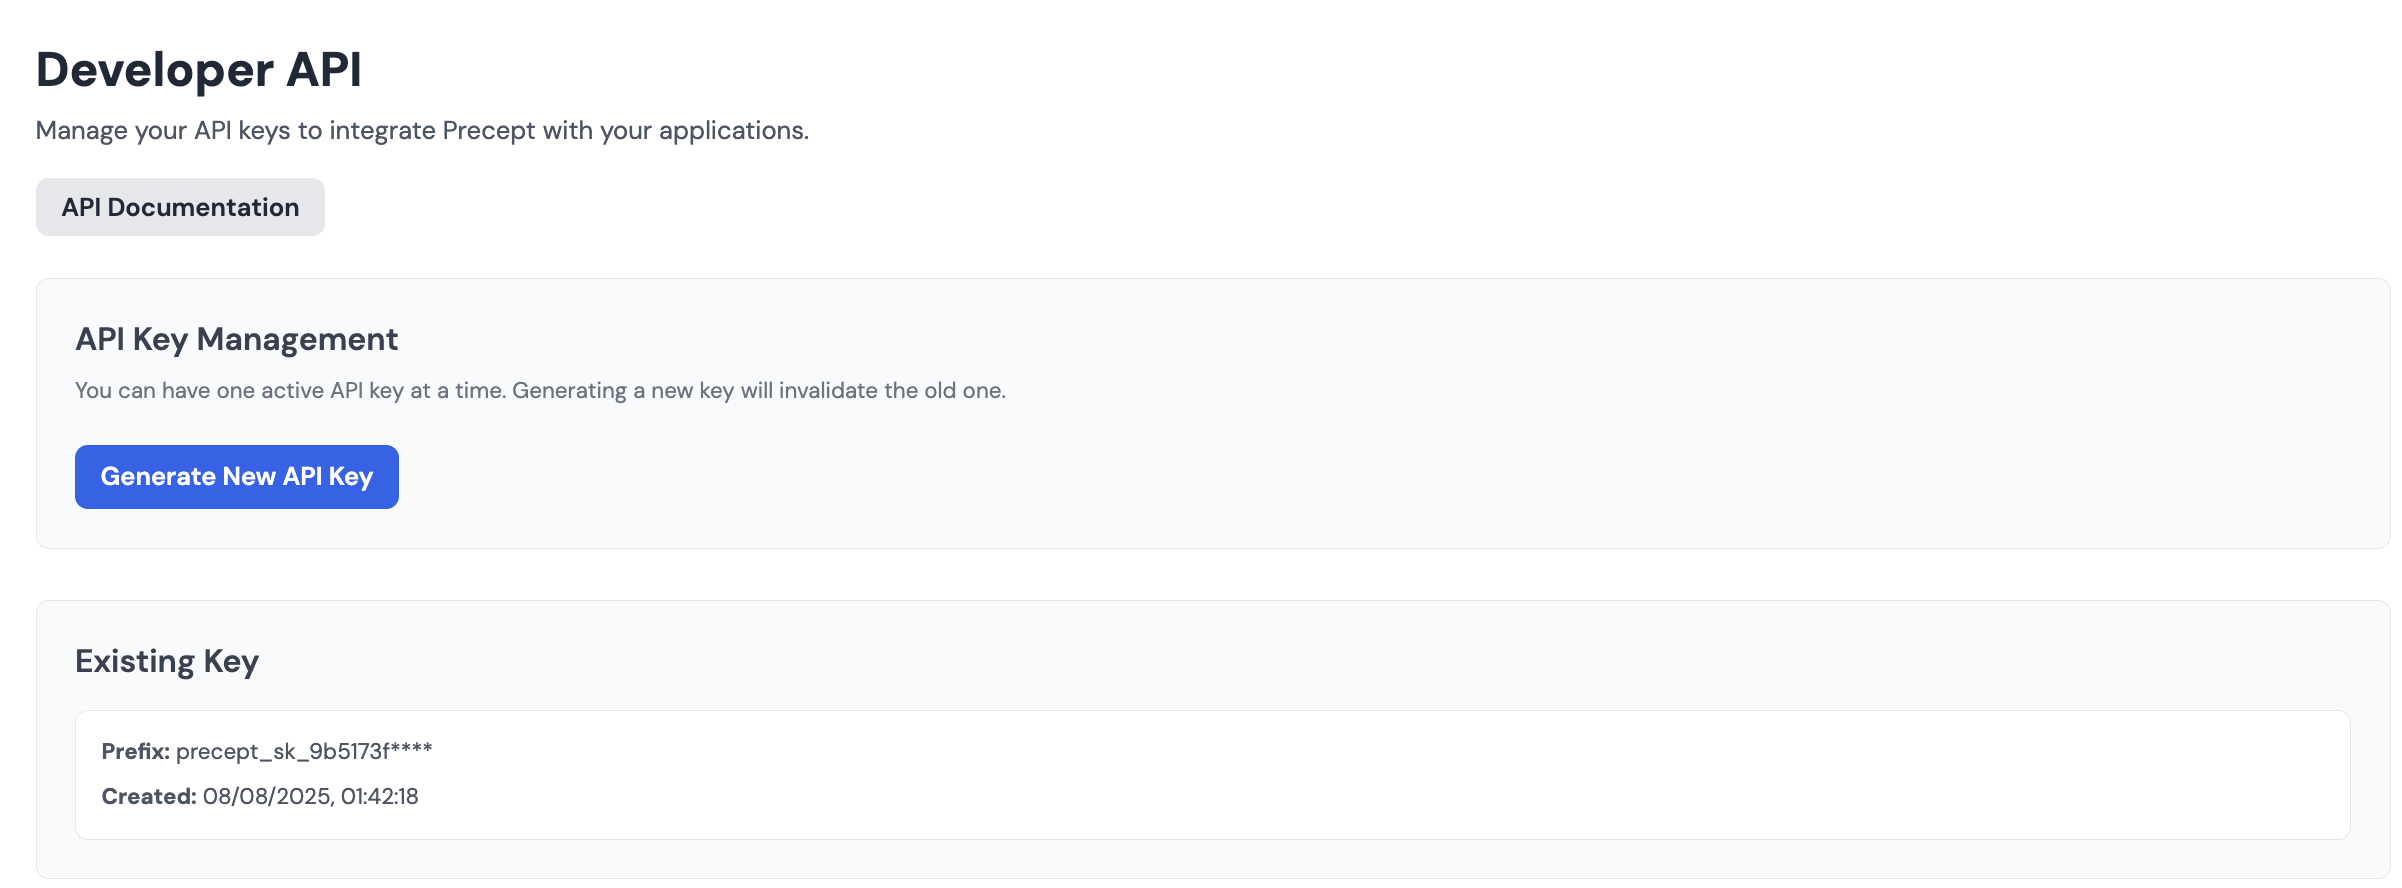
Before you can connect to Precept, you need your unique API key.- Navigate to the Developer Dashboard in your Precept account.
- If you haven’t already, generate a new API key.
- Copy the key to your clipboard. Treat this key like a password and keep it secure.
Need a Precept account?
Sign up for a free trial to get your API key and developer credits.
Step 2: Create a Webhook Workflow to Receive Results
Since enrichment jobs are asynchronous, you must first set up a dedicated workflow to receive the results. This workflow will start with a Webhook trigger that provides a unique URL.- Create a New Workflow: In n8n, create a new, separate workflow that will act as your webhook listener.
- Add a Webhook Trigger: For the first node, search for and select the Webhook trigger.
- Generate a URL: The node will display a Test URL. Copy this URL to your clipboard, as you will need it in the next step.
- Activate the Workflow: Activate the workflow so it is listening for incoming data from Precept.
Step 3: Set Up the HTTP Request Workflow
Now, create a second workflow to send the enrichment request to Precept.- Add the HTTP Request Node: In a new workflow, add the HTTP Request node.
-
Configure the Request:
- Method:
POST - URL:
https://api.preceptai.co.uk/v1/companies/insights - Authentication:
Header Auth - Name:
Authorization - Value:
Bearer YOUR_API_KEY - Body Content Type:
JSON - Body: In the expression editor, enter the JSON payload, making sure to include the
webhookUrlyou copied in Step 2.
- Method:
Step 4: Run and Test
Execute the HTTP Request node. The API will return a202 Accepted response with an enrichment_id, confirming the job is queued. Shortly after, your webhook workflow will trigger and receive the enrichment results.